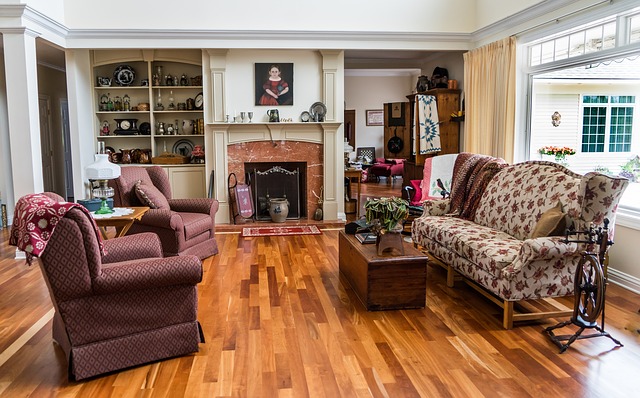
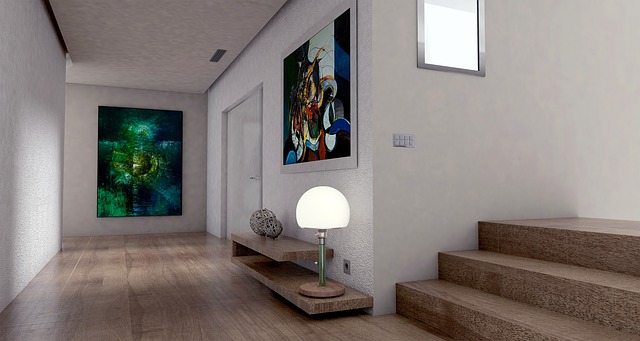
Assembling a floating floor with laminate boards is an easy way to get a floor that looks like wood flooring. In a floating floor, laminate boards are joined to each other with mortises and grooves. Because the boards do not need to be nailed together, floating floors can be installed under many different types of subfloors. Floating flooring has the advantage of giving the impression of wood, is low cost, and can be installed in a short time.

What you need
To install a floating floor, first prepare a hammer, saw, spacers, drill, pull rod, and folding tape measure. Next, in addition to the parquet or laminate flooring itself, you will need parquet silicone, heating pipe rosettes, soundproofing mats, and vapor barriers.
Floating floor assembly instructions:
1. Mop up embedded dirt and scrub embedded dirt with a brush. 2. check for nails or staples protruding under the floor and remove or hammer them in.
2.Remove any moldings around the floor. Use a crowbar, if possible, and insert this behind the molding nailed to the wall.
3.If necessary, if flooring is also to be applied between rooms, lay the flooring over the Styrofoam backing and attach to the door frame, marking the height with a pencil. Cut off the marked height with a saw.
4. If there is a concrete base or tile, use a little adhesive and allow to dry. Press the insulation paper onto the painted floor. Cut off the remainder of the insulation, making it the same size as the area.
5. Lay foam backing over the insulation.
6.Place a 1/4” wedge on the wall opposite the room entrance. The first layer of boards should be placed along the wall with the stud side against the wall. Any gaps in the wall will cause the substrate to expand. Provide gaps at both ends of the row as well. The last board should be trimmed to fit.
7.Next, join and lay the second row to the first row using a groove that fits into the studs at an angle of approximately 45°. When the boards in the second row are pushed down, an audible click should be heard indicating that the boards have snapped into place. The next row should begin with alternating shorter planks.
8.Continue with the next row, always starting with the shortest board.
9.When the floor is complete, put the stripped strips back in place and nail them over the floor surface.
.


